
Hello readers, today’s post is the first post on Proteus tutorial. Today’s tutorial is for beginners who don’t have much knowledge of Proteus but wants to start working with it. We don’t design any circuit in today’s post instead we will check the different functions of Proteus which provides ease in circuit designing. Proteus has different functions in it and in order to design a circuit, one must have sound knowledge of each of them.
Even if you know the know how of Proteus but still I will suggest you to read this tutorial for once, so that you could understand what is Proteus and what is its best use?
Fist of all Start ISIS Professonal Proteus from the your start menu of your windows it will show screen shown below.
Here Sheet is given that is used to place all the componets make them between connections and test your circuits. this is mainly a simulator software as you know simulator always work on standrad condition because your laptop or PC s processor is different than your actual processor this simulation process may have some of the errors but it is very good software for testing you code and hardware connections.
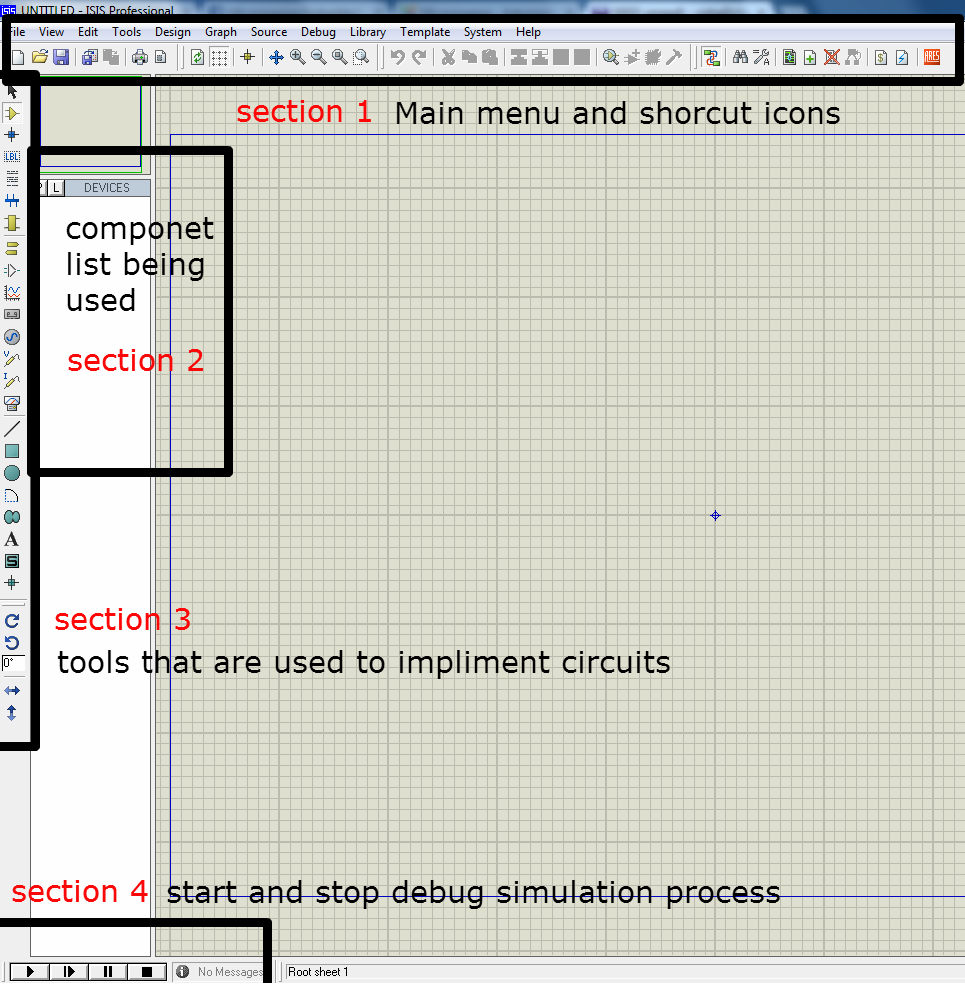
Here in above image, I have divided the Proteus in several sections.
Section 1 is Main Menu and Shortcut icones a toolbar which you have seen on many software, it has simple functionality like first icon on the toolbar is to create a new layout, second is to open an existing layout, next one is to save your layout, then there comes few zooming options and also some tools which we will further discuss in next tutorials and at the end of section 1
Let’s come to section 2,which has two buttons on it, one is P and other is E. P changes with the selection change of section 3 mostly it is used for opening the part list i.e component list and E is used for editing purposes, like you want to edit the properties of any component then simply click on that component and then click on E and it will open the properties of that component and you can easily edit it.
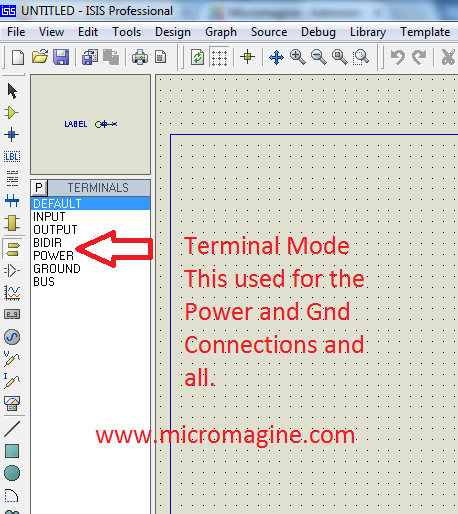
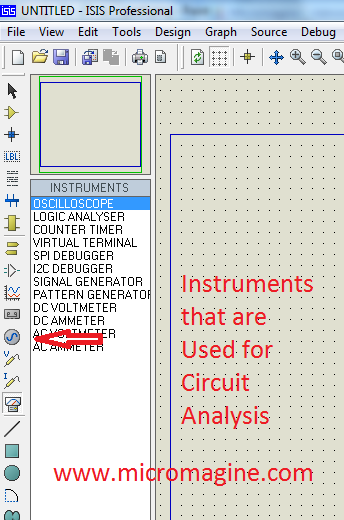
Section 3 has the tools that are used to implements circuits that are most commonly used section of proteus. It has a lot of functions on it. We will check them today one by one in complete detail.
Now finally the section 4 that is mainly used to start and stop your circuits simulation, this section shows different buttons like play, stop etc. When you design some circuit in Proteus, then you want to run it in order to check whether its working or not. So in order to run the circuit, you have to click on this play button. So when you click on play button the circuit starts to run, now click on Pause button and it will pause and Stop to stop the circuit running.
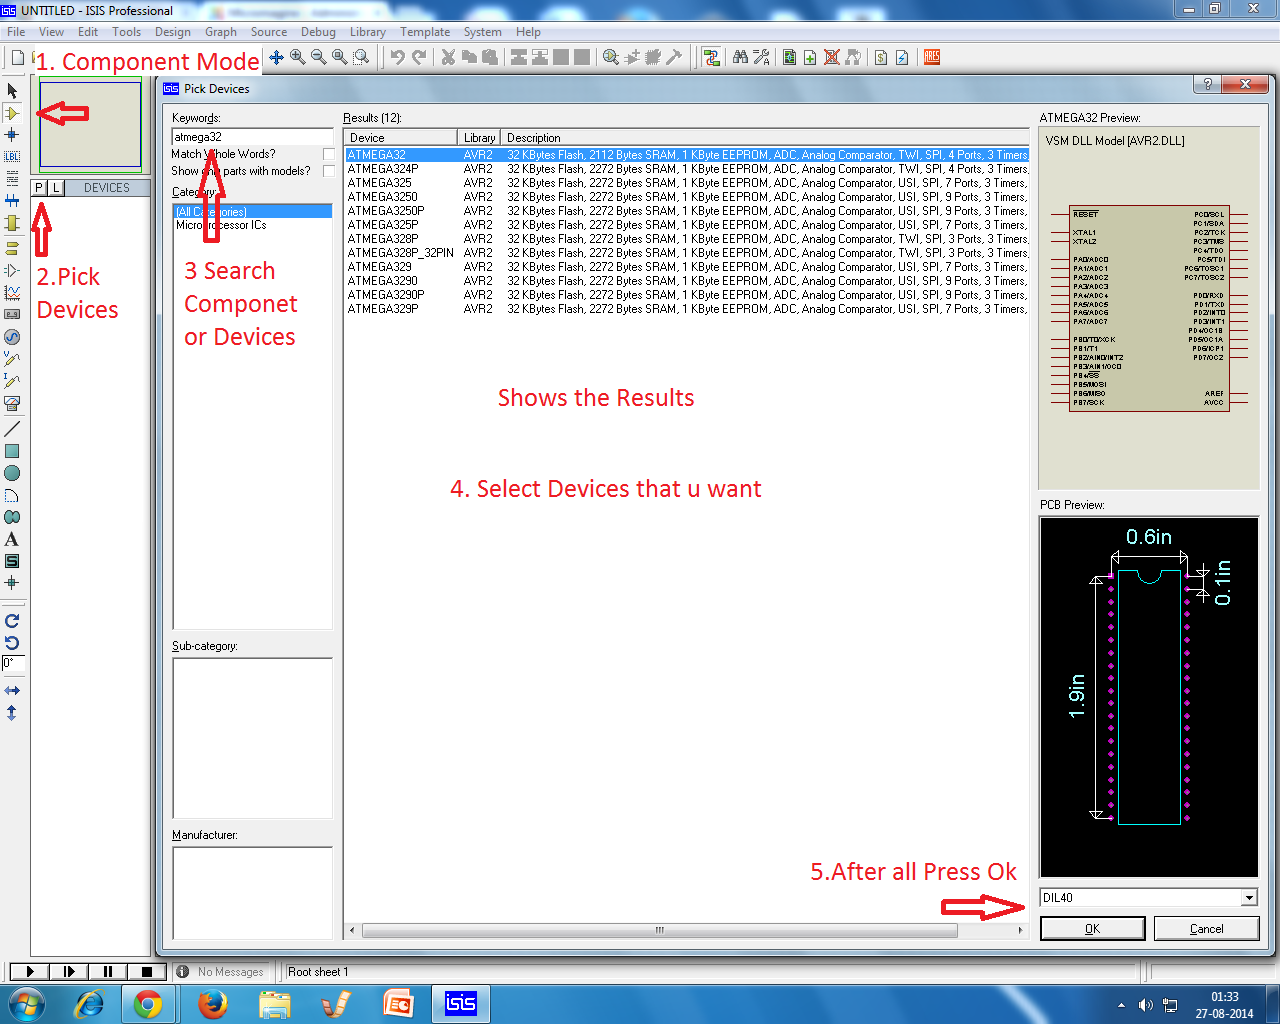
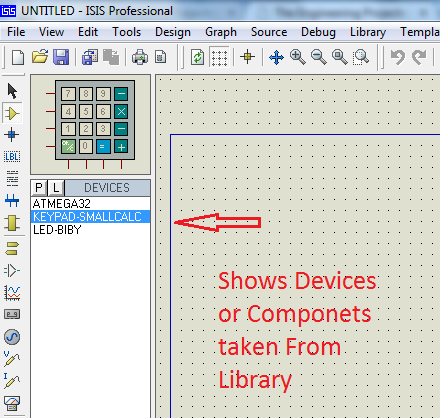
Now to make simple Circuits what all Components you Required are available here.
